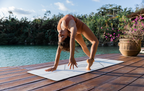
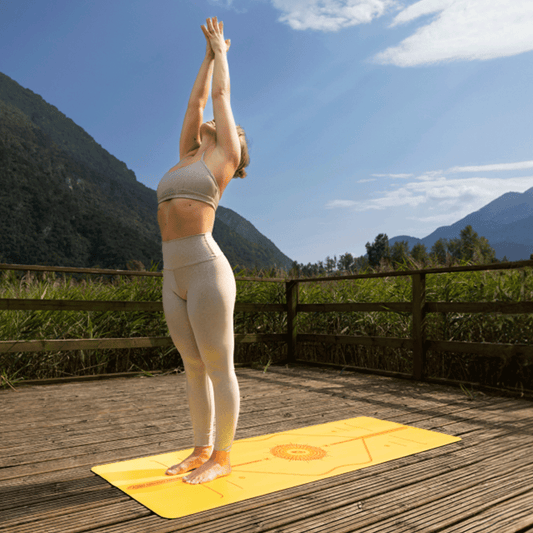
Long holds in headstand were once considered a necessary step in the journey toward an ‘advanced’ yoga practice.
Today, we take a more nuanced approach, prioritizing the forging of a healthy body-mind connection over checking poses off a list. So, while there are still plenty of benefits to practising inversions, there are also a lot of reasons not to rush into a headstand practice.
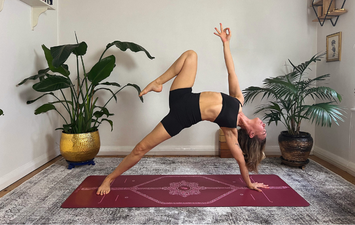
When you are ready, control, which comes with strength and experience, is crucial to a safe pose. Setting up with optimal alignment and listening to your body’s cues are also key.
If you have high or low blood pressure, a neck injury, or glaucoma, it’s best to avoid headstands. Speak to your doctor if you have any questions about whether you can safely invert.
Salamba Sirasana I is usually taught first, but Salamba Sirsasana II, with its wider base, can feel more stable. Salamba means supported, so both poses rely on your arms for support and to take some pressure off your neck.
To Wall or Not to Wall?
Opinions vary on whether it’s a good idea to start your headstand journey using a wall for support. If you’ve never fully inverted or it’s been a good long time since your last headstand, a wall can be a useful tool. It may get you over the fear of being upside down and give you a feeling for what you’re going for when you move to the centre of the room.
Knowing that the wall is there to catch you can lead to some wild kicking in the quest to get your feet over your head, which is never a good idea. Whenever you invert, you want to have complete control over your ascent and your descent.

Headstand I Instructions:
- Begin in an all-fours position.
- Lower your forearms to your mat with your elbows directly under your shoulders. Interlace your hands, tucking your bottom pinky inside so it doesn’t get squashed. This version of the pose is sometimes called Basket Headstand, and your interlaced fingers make the basket.
- Place the crown of your head to the floor with your basket hands cradling the back of your head.
- Curl your toes under and straighten your legs into a Downward Facing Dog position.
- Walk your feet in closer to your head, ideally bringing your hips over your shoulders. This is a great place to stop if you are a beginner.
- There are a few different methods to safely lift your feet from the ground. With all of them, you want to take it slowly and make sure you have control. No kicking up willy nilly!

- Bend one knee and draw it in toward your stomach. Come onto the toes of your other foot, then engage your core to lift that leg, bending it at the knee to join the first one. Once you feel balanced with the knees tucked, extend both legs toward the ceiling.
- Lift one leg straight up behind you into a Down Dog Split position. Come onto the tiptoes of your other foot. Engage your core to lift your toes from the floor so you are balancing with one leg up and one leg down. Slowly lift the bottom leg to join the top one.
- Walk your feet in as close as possible, then lift both legs simultaneously, keeping them straight. This option takes the most core strength.
- Once you are in the full pose, engage both feet so they are actively reaching toward the ceiling. Press strongly into your hands and forearms throughout.
- Lower one leg at a time with control or lower both legs at the same time for even more core work.

Headstand II Instructions:
- Begin in an all-fours position.
- Place the crown of your head to your mat between your hands.
- Move both hands toward your knees about a hands’ length to create a triangle shape with the head. This version of the pose is sometimes called Tripod Headstand and your hands and head form the tripod.
- Before you go any further, make sure your elbows are over your wrists and your upper arms are parallel to the floor.

- You have the same option for lifting your legs as in Headstand I, plus a few more.
- Bring both shins to rest on the shelves made by your upper arms. Stay here or straighten your legs toward the ceiling one at a time.
- Bring your legs into a wide straddle position and lift both off the ground simultaneously, bringing the legs back together overhead.
- Once you have both legs up, activate your feet and reach them toward the ceiling. Continue to press forming into both palms and make sure your elbows stay over your wrists, not winging out to the sides.
- After several breaths, lower one leg at a time or both legs simultaneously with control.
Rest in Child’s Pose for a few breaths after your headstand practice.