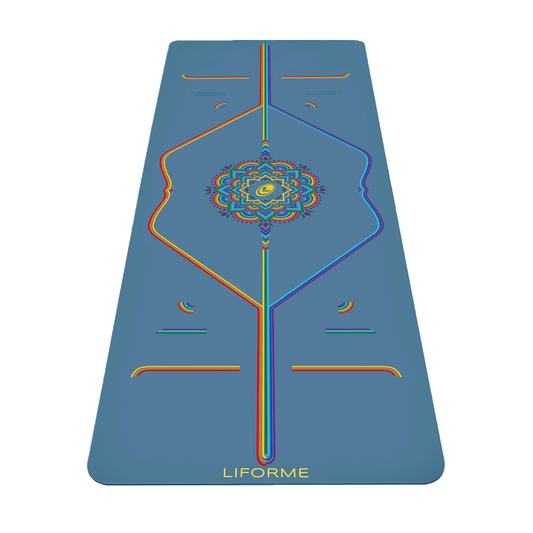
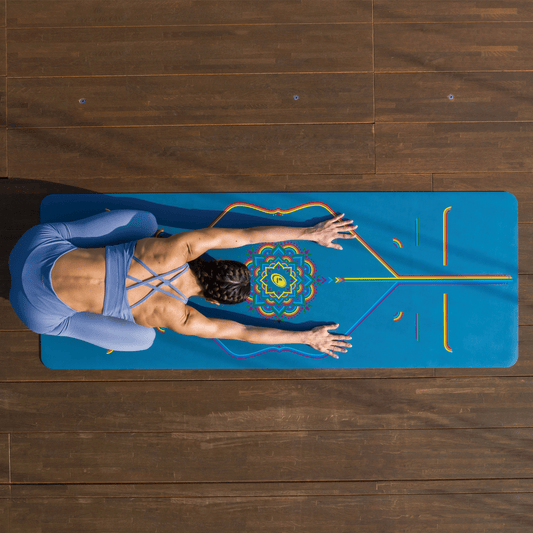
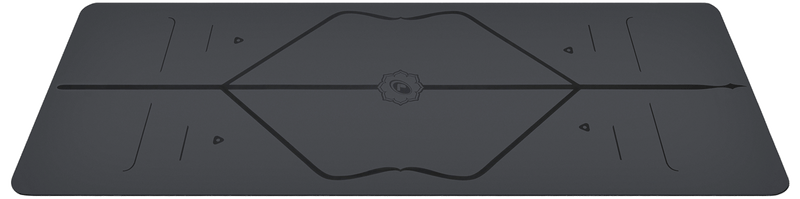
Alignment System

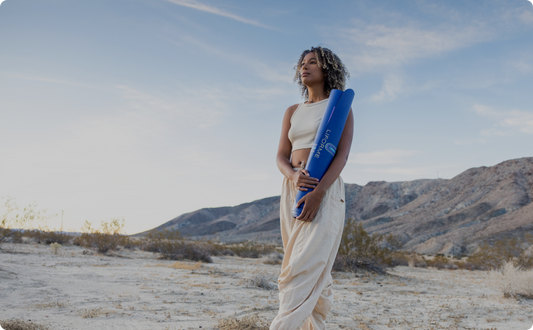
Liforme gives a minimum of 10% of our profits to our LiveForMore Foundation to give back to our community and planet.

Historically, we’ve also often gone beyond this on many occasions, because sometimes there are things we just can’t ignore or where we have felt we just needed to do more.

Why Alignment Matters

The significance of integrating immediate, intuitive, visual alignment feedback into your Yoga practice cannot be emphasised enough. Without it, Yogis may can weaken their body through repetitive incorrect placement or alignment. At Liforme, we recognise the importance of this aspect and have developed an alignment guide that works for all bodies, all types of Yoga and levels.

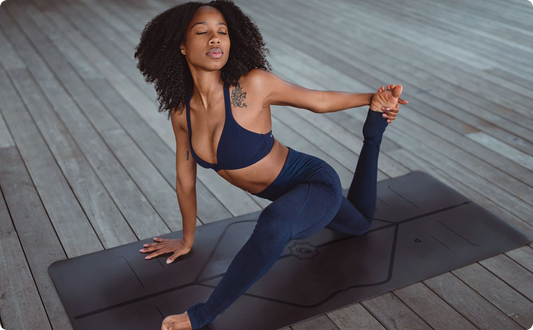
What are the benefits?

Injury Prevention
Better Form & Posture
Progression

Injury Prevention

Each Yoga pose has an optimal alignment that respects the natural range of motion of your joints. Alignment guides help you to understand how to position your joints correctly, ensuring that the appropriate muscles are engaged and supporting the movement. This engagement helps distribute the load evenly across your muscles, reducing the risk of overuse or strain.

Better Form & Posture

Alignment guides encourage Yogis to pay attention to symmetry and balance in their poses. They provide visual guidance on how to align different parts of the body, such as your hands and feet. By aligning both sides of the body evenly and symmetrically, Yogis can avoid developing imbalances or asymmetries that can lead to poor posture or compensatory movements, therefore, improving good posture and form.

Progression

Consistently practicing good alignment helps you progress your Yoga practice further. Alignment guides help you develop greater body awareness and your understanding of alignment principles, so you can deepen your practice and explore more advanced poses, making new poses feel more accessible.

Liforme's AlignForMe® System

We created a unique and original, AlignForMe® System that works as a navigational tool for your Yoga practice. The combination of intelligent markers gives you as much, or as little, guidance as you need. Whether you're in a class setting or practicing at home, our alignment guide empowers you to attain optimal alignment, enhancing the effectiveness and transformative potential of your practice.

End-to-End Lines

These lines help yogis of all levels enhance keep your hands & feet evenly aligned, length-ways. They help aid accurate positioning of hands, feet, and body throughout sequences.

Reverse Points

The Reverse Points assist Yogis in maintaining proper form and symmetry by providing visual cues for hand and foot placement when on their back.

45° Lines

In standing postures, the 45° Lines provide a visual reference to help you to align your back heels and find stability and perfect posture in poses such as Warrior I and Warrior II.

Central Line

The central line on the Liforme yoga mat aids in establishing evenness and width-wise alignment, ensuring balanced positioning of hands and feet in poses like Downward Facing Dog or Plank Pose.

The Lotus

Use the Lotus, or centrepiece of your alignment guide, to align yourself with the centre of your mat, which serves as the root of your symmetry, ensuring balance and stability as you ground yourself in the heart of your practice.

How to use our AlignForMe® Guide

Example 1: Downward Dog

1. Align Your Hands: Place your hands shoulder-width apart on the mat, with your fingers spread wide. Position your palms directly over the end to end lines at the top of your mat to ensure that your hands are aligned with your shoulders.

2. Set Your Feet: Step your feet back, placing your heels on the end to end lines towards the bottom of the mat.

3. Hinge at the Hips: On an exhale, lift your hips upward and back, coming into an inverted V shape. Keep your arms straight and strong, with your shoulders away from your ears.

4. Check Alignment: Use the alignment guide on the mat to ensure that your hands and feet are positioned symmetrically along the lines. Adjust as needed to maintain perfect posture.


Learn more about how to do Downward Facing Dog

Downward Dog Guide

Example 2: Reverse Table Top

1. Bend Your Knees: Sit down on your mat, bend your knees and place your feet flat on the reverse points of your mat, hip-width apart. Keep your feet parallel to each other.

2. Position Your Hands: Place your palms on the other set of reverse points, shoulder-width apart, with your fingers pointing towards your feet. Ensure that your hands are aligned with your shoulders and wrists parallel to the front edge of the mat.

3. Lift Your Hips: On an inhale, press into your hands and feet, lifting your hips towards the ceiling. Straighten your arms as you lift your pelvis, creating a straight line from your shoulders to your knees.

4. Check Alignment: Use the alignment guide on the mat to ensure that your hands and feet are positioned symmetrically along the lines. Adjust as needed to maintain perfect posture.

View More Poses